Overview
This tutorial shows some examples of how to use the Nine Slice Component to scale images while preserving image corners. This is handy for all sorts of UI elements such as borders, banners, backgrounds, dialog boxes and buttons.
Prerequisites
- Umajin Editor downloaded and installed.
Instructions
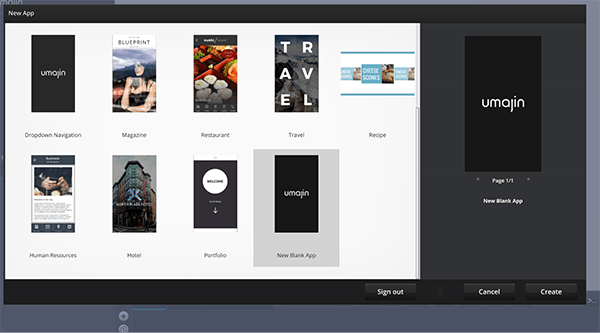
Step 1) Create a new blank project in the Umajin Editor to use as a testing platform for our image scaling.
Step 2) Add whatever images you would like to try nine slicing into the images Folder.
Open Umajin Editor → Click File → Open Resources Folder → images → Add your images.
We will be using the following images that you are welcome to use for your own trials.
   |
   |
Step 3) Insert your Nine Slice Component. To add the Nine Slice, click the large plus button to the right of your project name. This opens the Component Selector, as pictured below.We have combined these sample nine-slice ready images into a zip file for you to experiment with, download and decompress the nineslice_images.zip file to use them.

Once you click insert, you will be brought to a menu of your images to select from.
In our next section, we will take you through each of our example images, and how to effectively scale them using Nine Slice.
Examples
Example 1: The Banner
This first image is what Example appears after selecting the banner image to slice.

To properly slice, click and drag the little target flags at the four points along the image. We want to preserve the banner’s tails while scaling only the rectangle. To ensure this, we place the vertical target flags on the inside of the banner tails at the point at which they meet the rectangle. This keeps the shadowing as well as tail shape while the width and height of the rectangle are variable.

This allows us to have a very long message on a banner, as pictured below.

Example 2: The Gray Button
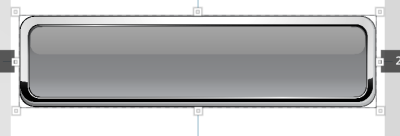
After selecting the grey button to slice, it is important to be wary of the gradient features. When scaling this image, we want the gradients to be preserved. So the vertical flags will go inside the corners to preserve them, and the horizontal flags will be placed just above the bottom gradient and just below the top gradient.

After saving, this is the button that appears. As you can see, the borders are very heavy in this image. We can adjust the scale of the border down to about 25 points using the ‘Border scale’ slider under the Properties tab.
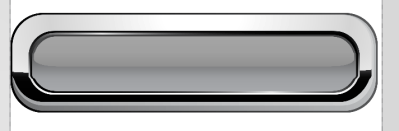

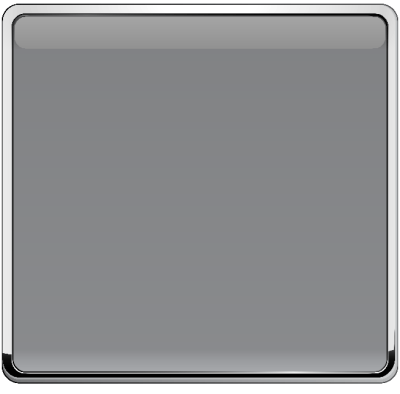
Below is the image with a Border scale of 25.
 Now we can make a button of a different shape and scale with preserved gradients and corners like below.
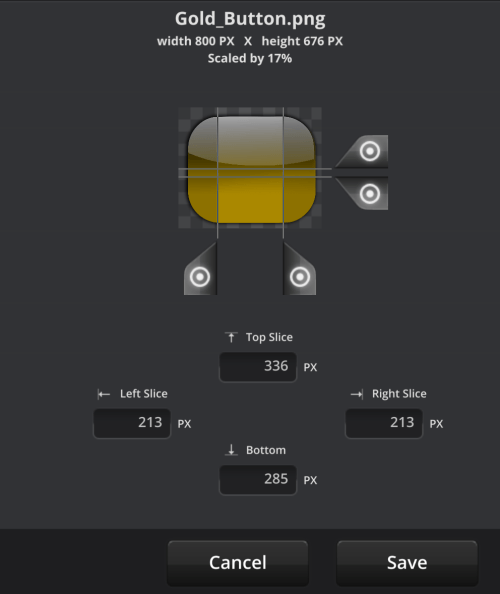
 Example 3: Gold Button
After selecting the gold button to slice, it is important to be mindful of the gradient features. When scaling this image, we want the gradients to be preserved. So the vertical flags will go inside the corners to preserve them, and the horizontal flags will be placed just above the bottom gradient and just below the top gradient.
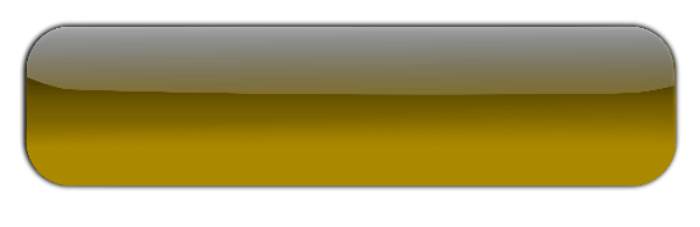
After saving, the gold button appears. Now we can make a button of a different shape and scale with preserved gradients and corners like below.
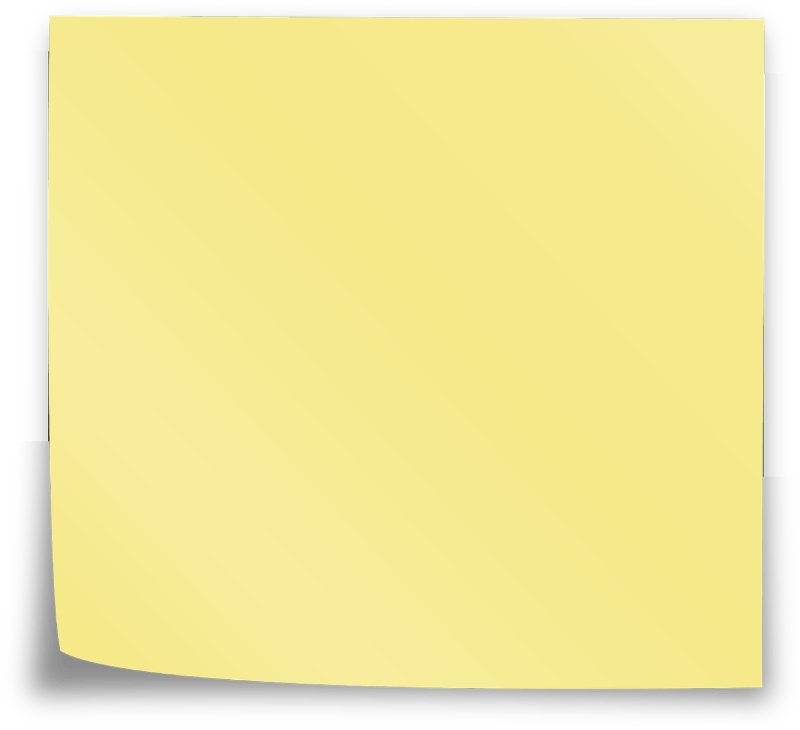
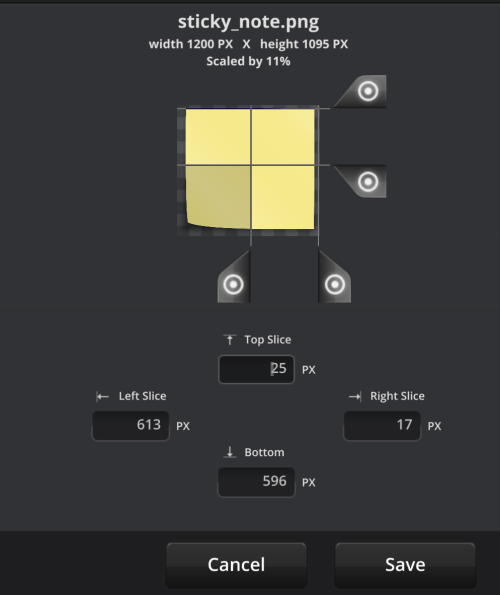
 Example 5: Sticky Note
After selecting the sticky note to slice, it is important to note the special feature of the curl in the bottom left corner. When scaling this image, we want this and the shadowing preserved. So, the left vertical flags will go inside the left corner to where the shadowing stops, and the bottom horizontal flag will be placed just above the bottom where the shadowing from the curl ends.
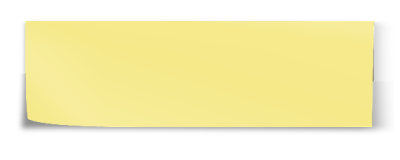
 After saving, the sticky note appears. Now we can make a note of a different shape and scale with preserved curls and shadowing.
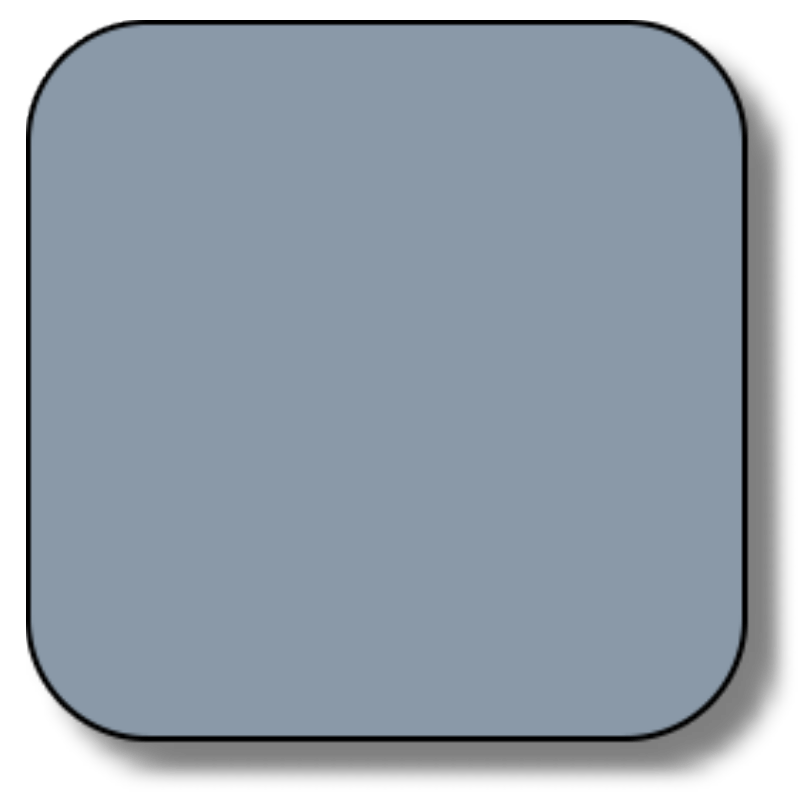
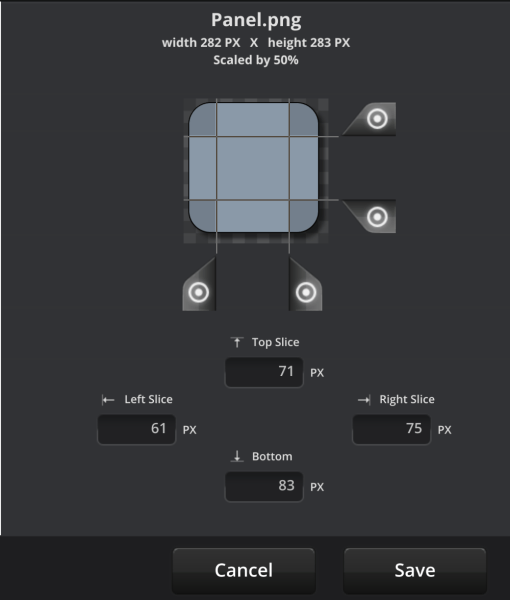
 Example 5: Panel
After selecting the panel to slice, it is important to note the rounded corners that we want to preserve when scaling. So, the left vertical flags will go inside the corners to where the curve stops, and the horizontal flags will land just above the bottom corner and just below the top corner.
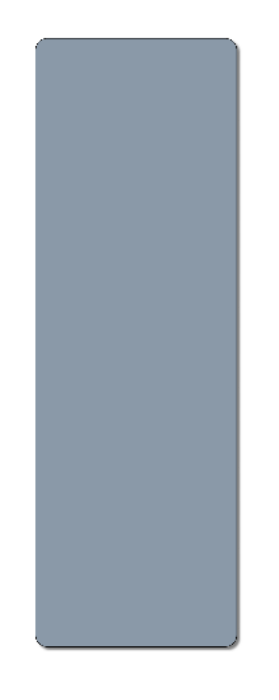
 After saving, the panel appears. Now we can make a note of a different shape and scale with preserved curved corners.
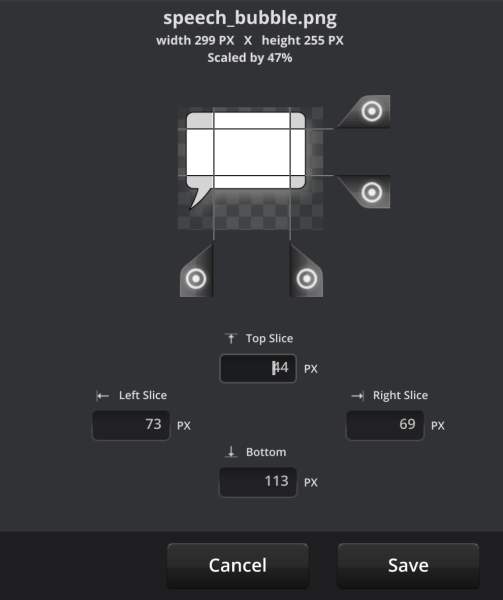
 Example 6: Speech Bubble
After selecting the speech bubble to slice, it is important to note the bubble tail and the rounded corners that we want to preserve when scaling. So, the left vertical flag will go inside the tail, the right vertical flag will go inside the right corner, and the horizontal flags will land just above the bottom corner and just below the top corner.
 After saving, the speech bubble appears. Now we can make a note of a different shape and scale with preserved curved corners and bubble tail.
