Menu
Map creation guide
This page outlines a workflow for creating custom map tiles for use with the Umajin Editor’s Offline Map component.
Tips for map creation
- Obtain any and all visual maps related to the area you are working with, as typically they will all contain slightly different information.
- If your map needs to be geographically accurate, obtain a (large) google maps screen capture of the area you are working with.
- Visually verify your collected visual material against the real thing. Go to your area and check that what you see is what you get. Make notes and record any differences.
- Combine your visual material into an imaging editing software program (Illustrator or Photoshop recommended). Align google maps, architectural plans and any other relevant material together to get a full and consistent picture. If things do not sync up, then go to your area and make a judgement call as to which is correct.
- This step is not necessary, but is recommended for future maintenance and speed of creation. Apply a grid to your document and align your maps to it. This will keep things consistent and right angles are far simpler to work with. The scale of the grid is up to you, however note that the larger the squares, the more your map will distort in order to fit.
- Once you have your visuals collected and aligned, start drawing over the top to reproduce the areas relevant to your project.
- You may not want to show all the detail available to you on the map, as it could confuse users by showing unnecessary information or areas they can’t access.
- The goal of the map could be only to get people to places, in which case only choices along the way are important.
- If it is to show people what is nearby, in that case the emphasis will be on presenting POIs (Points of Interest).
Loading images into Maptiler
- Go to www.maptiler.com and download + Install Maptiler. I recommend getting the Plus license at the very least.
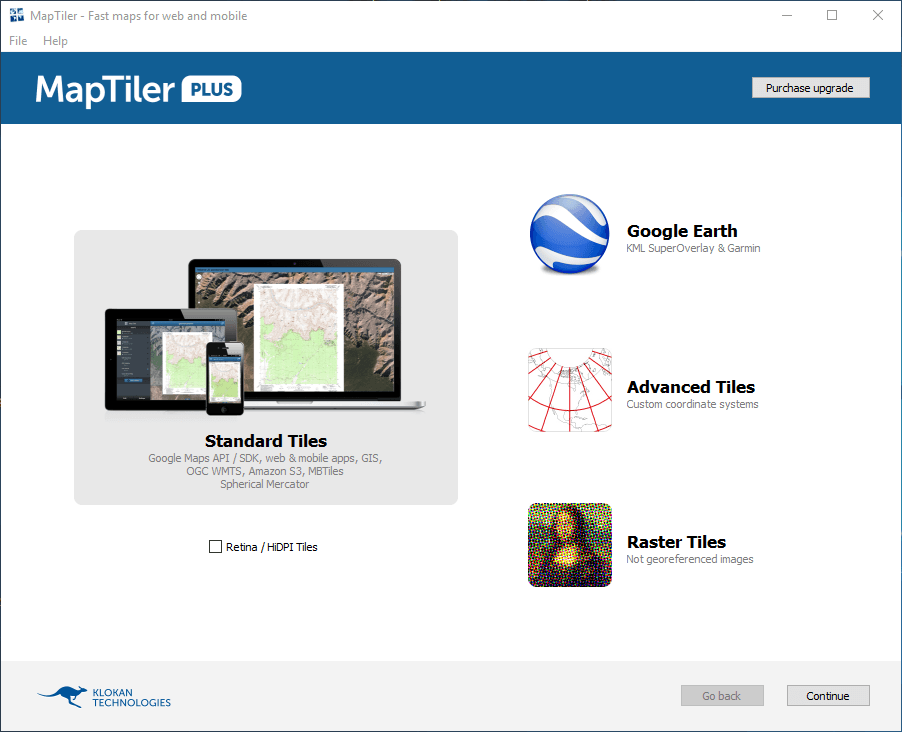
- Open Maptiler and select the Standard Tiles option.
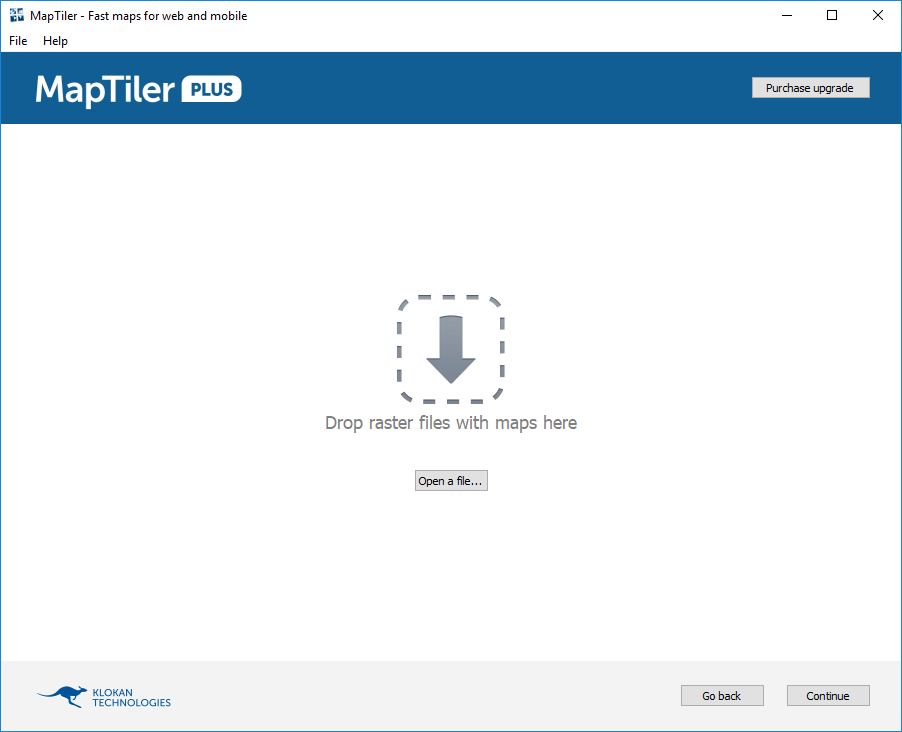
- Click Open a file or drag and drop the map image you wish to tile.
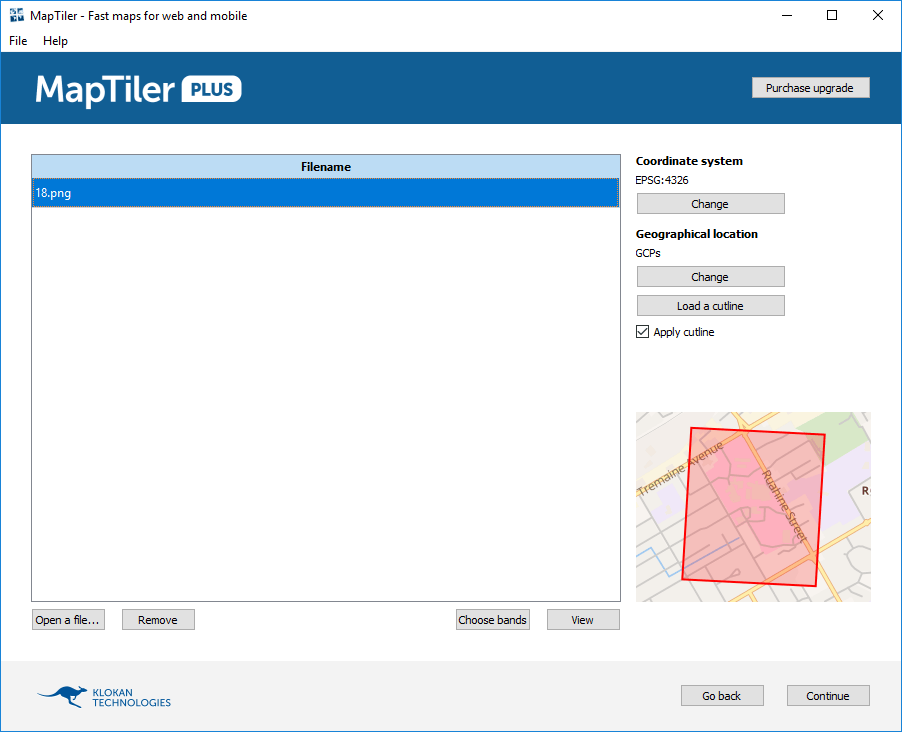
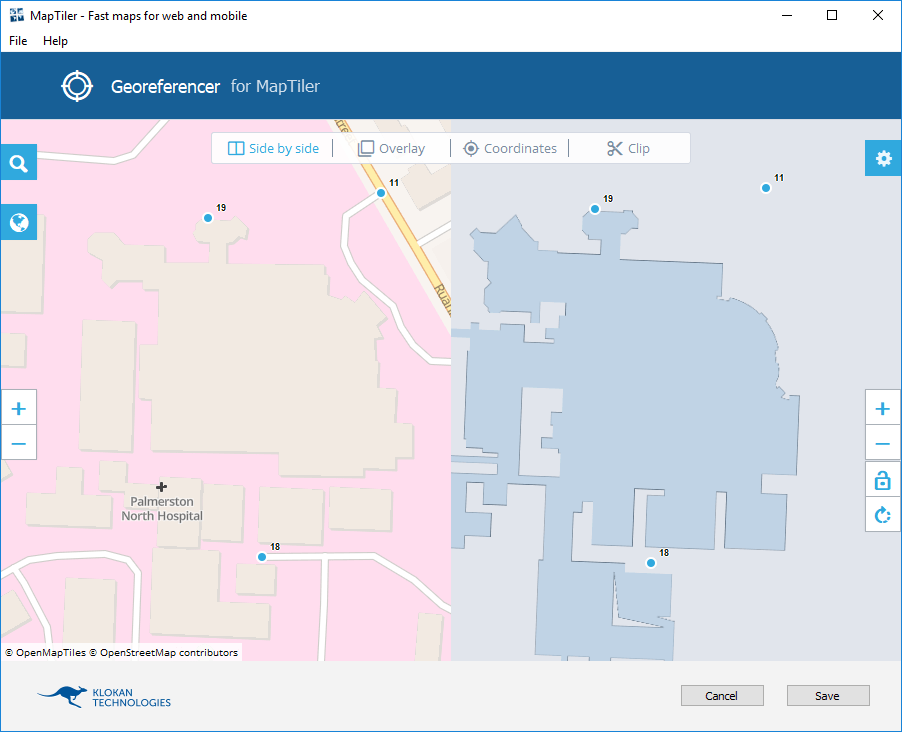
- Under geographical location, select change.
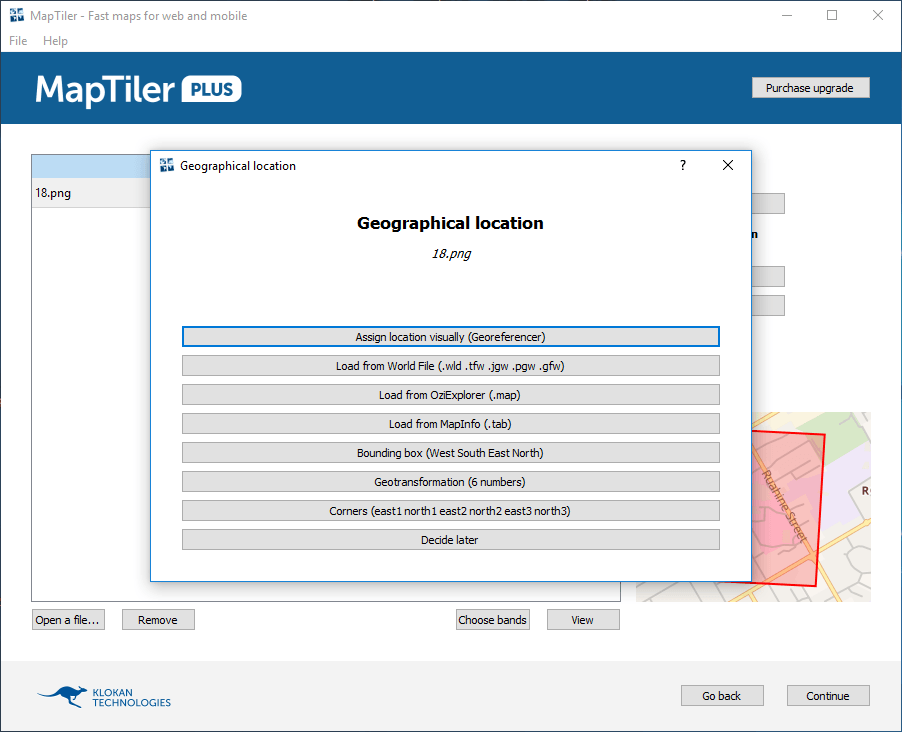
- From the menu select Assign location visually.
- Using the side by side tab, use the viewer on the right to assign points to your map, and use the viewer on the left to align them with Open street maps. Hit save when you are finished. This step aligns your map with real world locations so that latitude and longitude of points will be accurate. The more points you use, the more accurate your map will become.
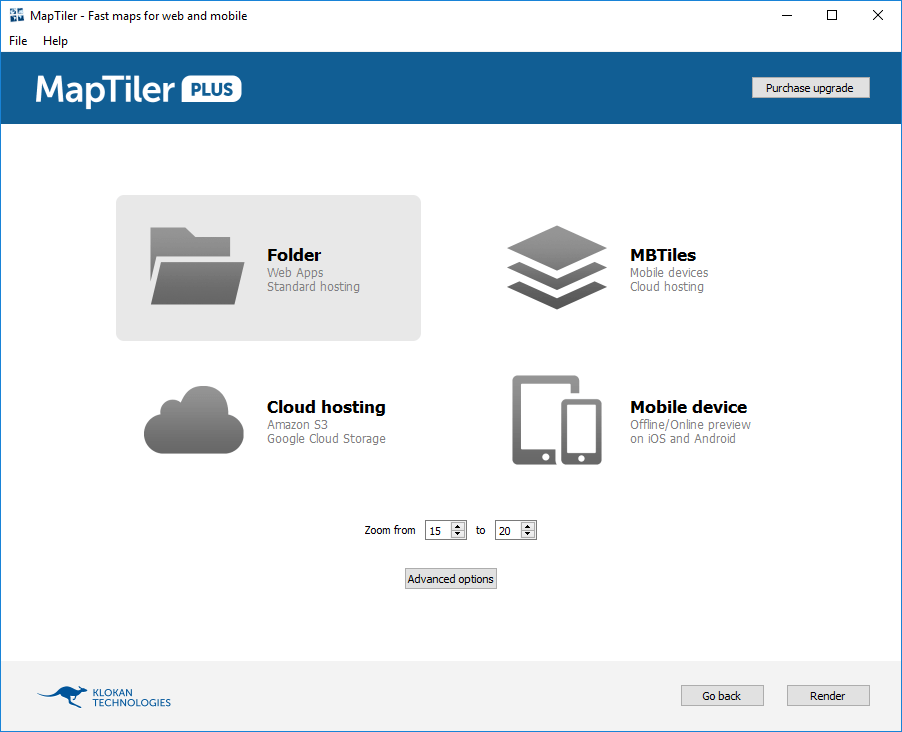
- Click continue and select the folder option. Locate or create an empty folder to save your map tiles into. You can set the number of zoom levels you wish to render using the zoom from options.
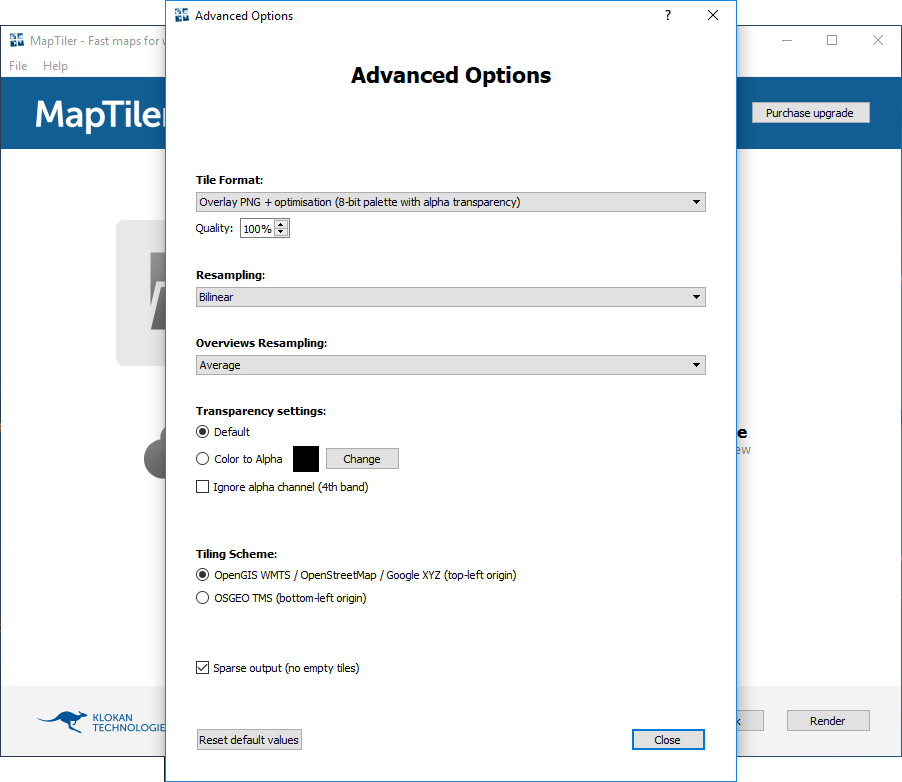
- Before saving, click on advanced options and make sure that sparse output is checked. This will reduce your file size by removing any tiles that would be 100% transparent.tiles that would be 100% transparent.
- When you are ready, hit Render.