• Overview
    • Introduction
    • User Interface Description
    • Installing Umajin
    • Shortcuts
    • Asset Management
    • Responsive Content
    • Project Icon
    • Text Styles
    • Guidewires
    • Presets
    • Glossary
    • Multi-user
    • Project Events
  • Components
    • Intro
    • Page
    • Basic
      • Arrow
      • Button
      • Circle
      • HTML Article
      • Image
      • Image Zoomer
      • Nine Slice
      • Rectangle
      • Text
      • Tiler
      • Toggle Button
      • Web View
    • Navigation
      • Carousel
      • Dropdown Menu
      • Glass Shelf
      • Hamburger Menu
      • Tool Bar
    • Data Driven
      • Animated Feed
      • Dynamic Article
      • Feed Item View
      • Feed List
    • Forms
      • Form
      • Text Entry
    • Layout
      • Gallery
      • Group
      • Layout Group
      • Scroll Panel
    • Media
      • 3D Model
      • Spine Animation
      • Lottie Animation
      • Avatar
      • Canvas
      • Particle
      • Render Kit
      • Speech Player
      • Video
    • Maps
      • Google Maps
      • Offline Map
      • Offline Map Route Editor
      • Map creation guide
      • Beacon installation for indoor mapping
    • Internet of Things (IoT)
      • Bluetooth BLE
    • Masters
    • Custom Components
  • Actions
    • Add and Configure Actions
    • Basic Actions
    • Navigation Actions
    • Layout Actions
    • Appearance Actions
    • Animation Actions
    • Media Actions
    • Avatar Actions
    • Gallery Actions
    • Form Actions
    • Data Driven Actions
    • Maps Actions
    • IOT (Internet of Things) Actions
    • Advanced Actions
    • Custom Actions
  • Tutorials
  • Cloud Services
    • Overview of Cloud Services
    • Google Analytics
    • Umajin Analytics
  • Publishing
    • Introduction
    • Umajin Editor Lite
    • iOS – Apple App Store
    • Android – Google Play Store
    • Mac
    • Windows
Menu
  • Overview
    • Introduction
    • User Interface Description
    • Installing Umajin
    • Shortcuts
    • Asset Management
    • Responsive Content
    • Project Icon
    • Text Styles
    • Guidewires
    • Presets
    • Glossary
    • Multi-user
    • Project Events
  • Components
    • Intro
    • Page
    • Basic
      • Arrow
      • Button
      • Circle
      • HTML Article
      • Image
      • Image Zoomer
      • Nine Slice
      • Rectangle
      • Text
      • Tiler
      • Toggle Button
      • Web View
    • Navigation
      • Carousel
      • Dropdown Menu
      • Glass Shelf
      • Hamburger Menu
      • Tool Bar
    • Data Driven
      • Animated Feed
      • Dynamic Article
      • Feed Item View
      • Feed List
    • Forms
      • Form
      • Text Entry
    • Layout
      • Gallery
      • Group
      • Layout Group
      • Scroll Panel
    • Media
      • 3D Model
      • Spine Animation
      • Lottie Animation
      • Avatar
      • Canvas
      • Particle
      • Render Kit
      • Speech Player
      • Video
    • Maps
      • Google Maps
      • Offline Map
      • Offline Map Route Editor
      • Map creation guide
      • Beacon installation for indoor mapping
    • Internet of Things (IoT)
      • Bluetooth BLE
    • Masters
    • Custom Components
  • Actions
    • Add and Configure Actions
    • Basic Actions
    • Navigation Actions
    • Layout Actions
    • Appearance Actions
    • Animation Actions
    • Media Actions
    • Avatar Actions
    • Gallery Actions
    • Form Actions
    • Data Driven Actions
    • Maps Actions
    • IOT (Internet of Things) Actions
    • Advanced Actions
    • Custom Actions
  • Tutorials
  • Cloud Services
    • Overview of Cloud Services
    • Google Analytics
    • Umajin Analytics
  • Publishing
    • Introduction
    • Umajin Editor Lite
    • iOS – Apple App Store
    • Android – Google Play Store
    • Mac
    • Windows
Intermediate > Media Upload
Media Upload
Intermediate
  
January 10, 2021
  
Kevin Guan

Overview

This tutorial will introduce two methods on how to upload local images to your project via the Umajin Cloud and how to link them to a Feed.

Prerequisites

  1. Umajin Editor downloaded and installed.

Instructions

We will start by creating a simple feed component that will map through a title and an image file that we will have uploaded to the Umajin Cloud.

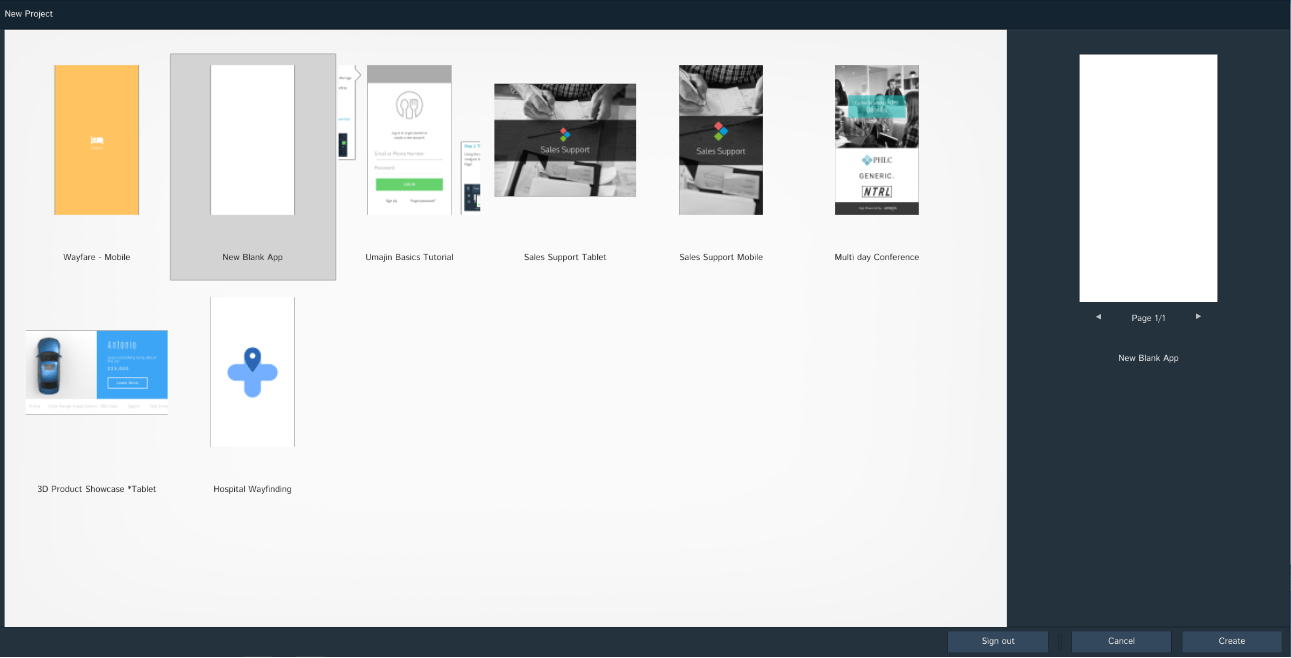
Step 1) Create a new blank project in the Umajin Editor to use as a testing platform.

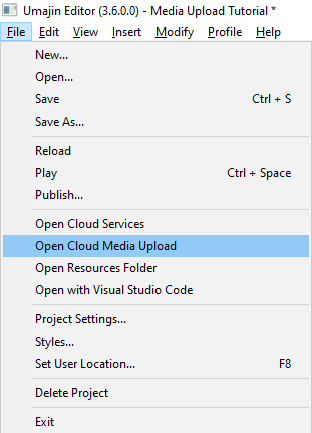
Step 2) Open Umajin’s Cloud Services:

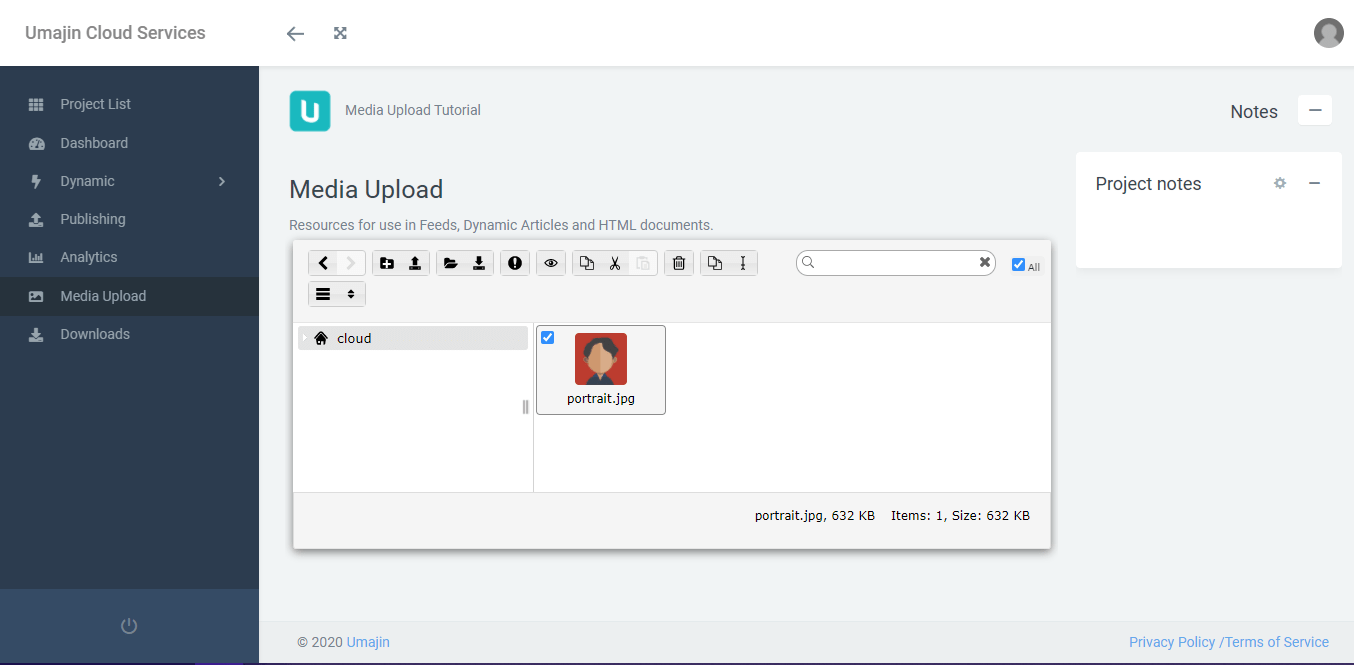
This is a place where you will be able to upload and manage any files that you would like to use for your project. Try uploading an image from your local folders into the cloud folder, it should appear in the box.


Step 3) Next, we will show you how to link your uploaded image to a Feed. Click on the Dynamic tab and create a Feed. (If you are unsure on what Feeds are and how they work, check out this tutorial https://help.umajin.com/component-list/data-driven/feed-list-component)

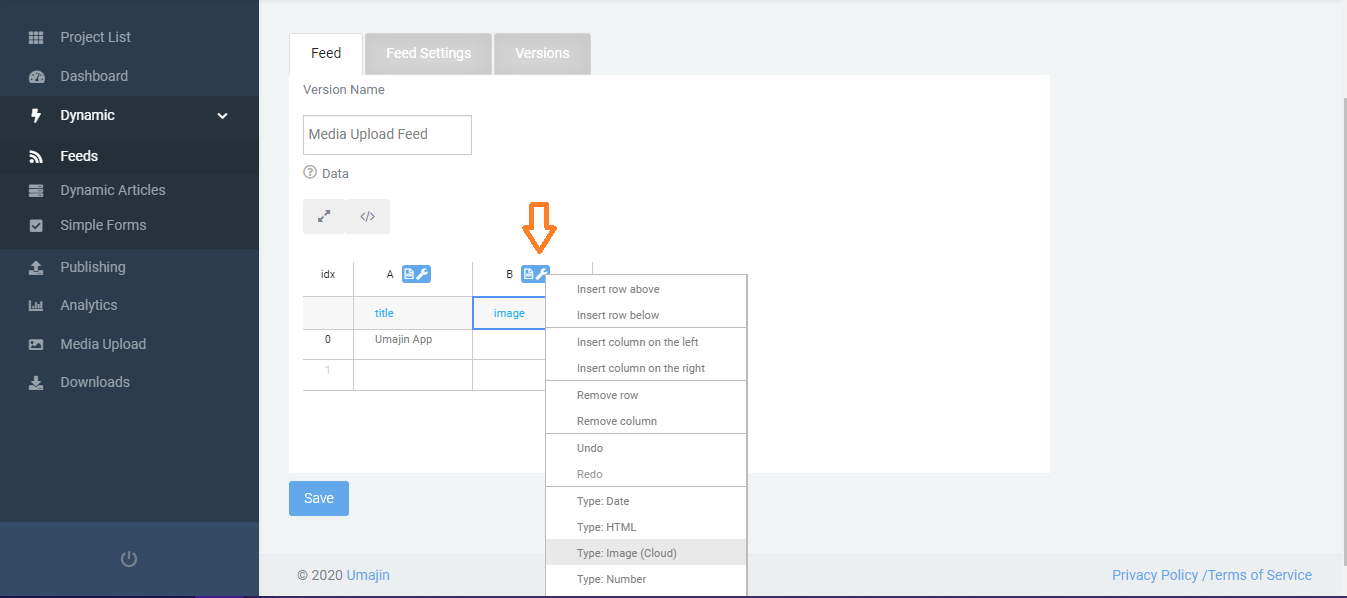
Step 4) Add a couple of simple headers for your data so that you can distinguish them later in the editor. Ours will have a title and an image header.

Step 5) When inserting references to certain files, we need to tell each column in the data table which type to search for. Right-click the icons above your column and select the ‘Type’ from the drop-down options. Ours is an image.

Step 6) Double click the column to open up the file picker. Then double click the image to insert it into the data cell. Now save your Feed.

Step 7) Set up your editor for testing. This will require adding a Feed List component to your page and creating a Master to map the data. Again, if this step is confusing, please refer to the Feed List tutorial. Our Master will need a text component to hold the ‘title’ and an image component for the ‘image’ file.

Step 8) In the properties section for the Feed List component, we will select our Media Upload Feed in Feed ID, our master through Master property, and then add in our data through Mapping. Mapping allows us to import our feed data into the components that we made in our Masters page. In our case, our title will be mapped to the Text 1 Component and our image will be mapped to the Image 1 Component.

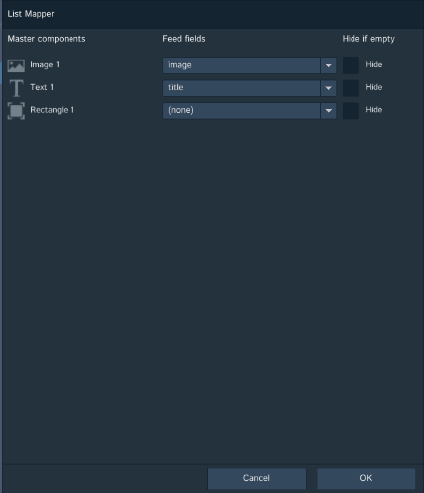
Hit ‘OK’ and the result should look like this:

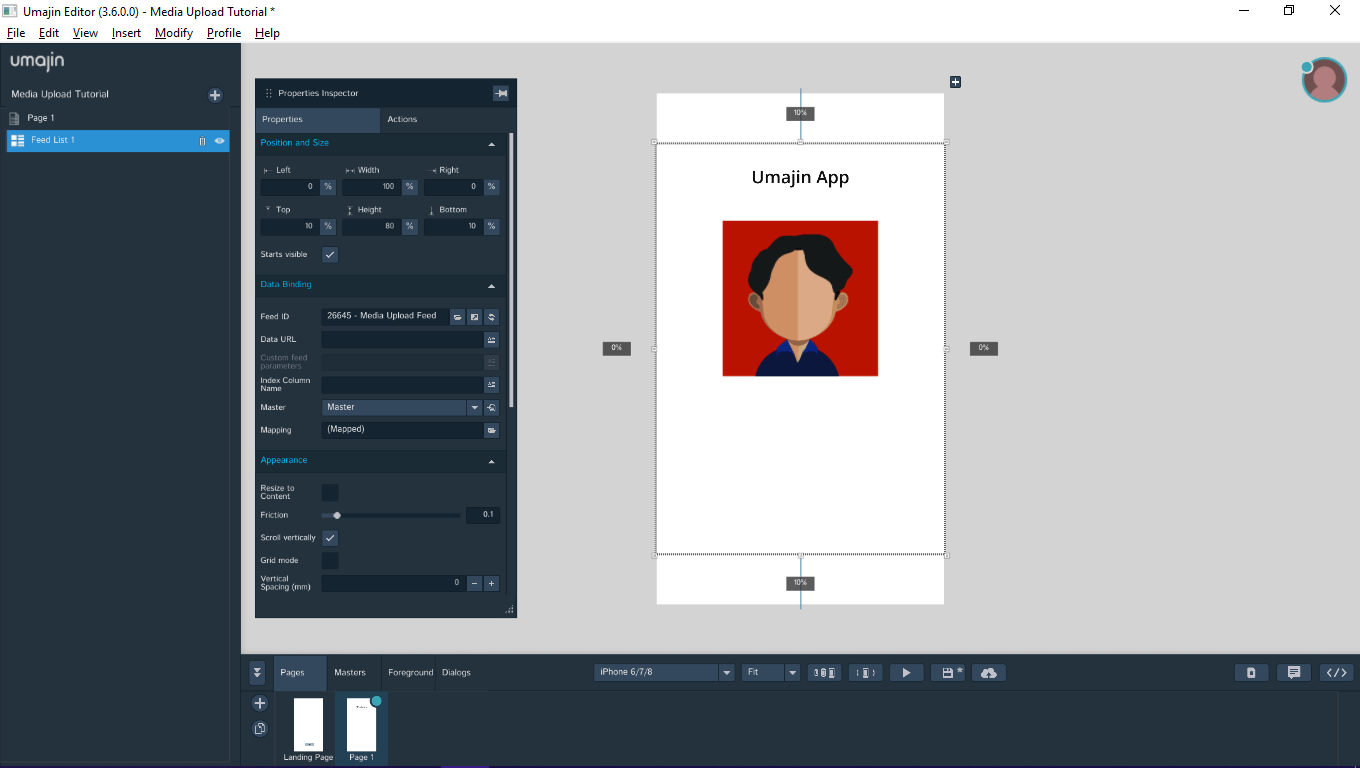
Congrats! You have successfully linked your cloud files to your Umajin App. This is especially handy when creating static Feeds where you know what you want to show. But, what if you want to add another image on the fly while your app is running? The next part of this tutorial will explain how to use Umajin’s JavaScript API to allow for extended flexibility.


  • Umajin
  • Developers
  • Support Home
Menu
  • Umajin
  • Developers
  • Support Home