Simple Form Basics – Creating a form to collect customer information and storing it in a Feed.
Overview
In this tutorial we will use the default Simple Form component to save user entered data into a feed list on the Umajin Cloud System. We will then retrieve this data as a .csv file.
Prerequisites
- Umajin Editor downloaded and installed
- Basic knowledge of changing properties in the property inspector.
- A program to view .csv data (Microsoft Excel, Google Spreadsheets, or a simple text editor)
Instructions
Step 1) Insert the the ‘Simple Form Component’.
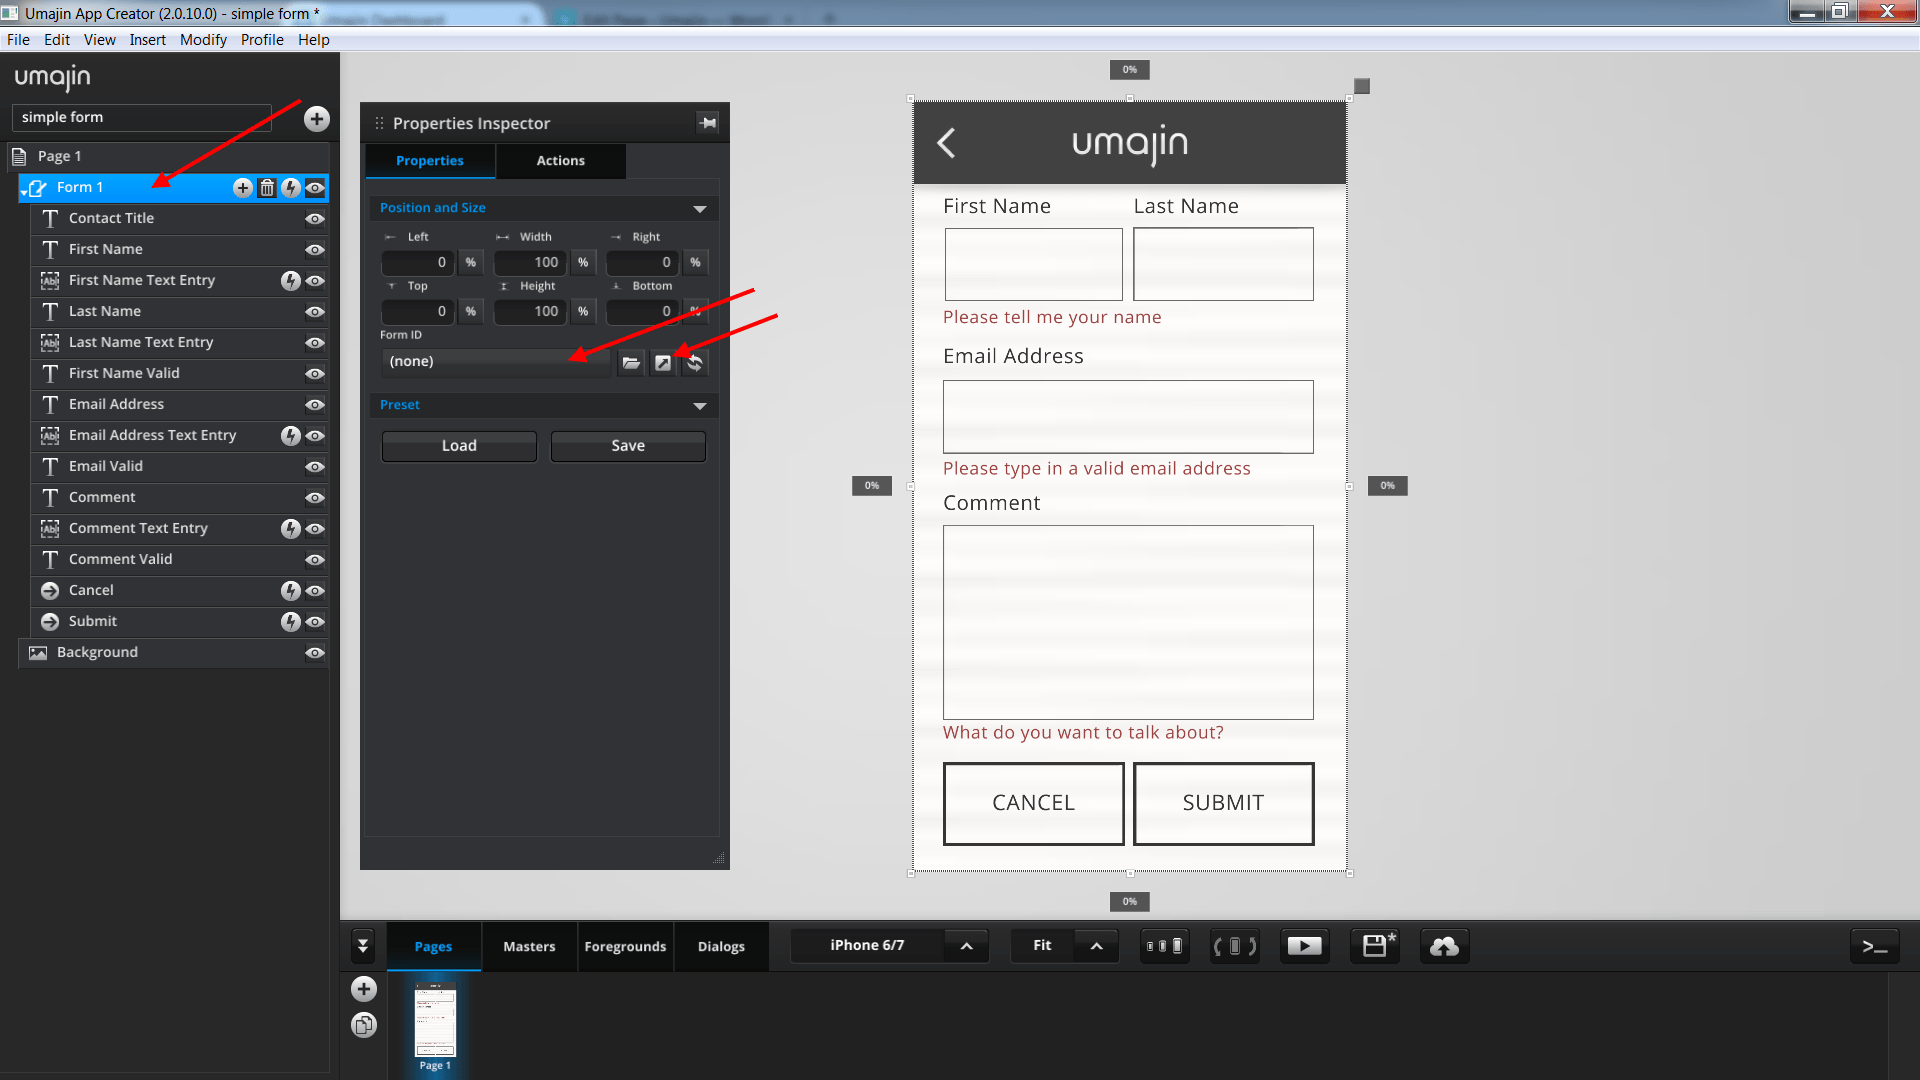
You will notice the component is automatically populated with Text labels, Text Entry fields and Buttons. There will also be some red Text Labels for errors that will display in play mode if the users text entry is not valid. These default components are already linked together to create a functional form. We will be using the default fields for this tutorial, but check out the Simple Form customization tutorial to change fields.
Feel free to play around with the Simple Form in play mode to get a feel for the component, it won’t do any data saving yet!
Step 2) We will now link our form to a feed we create on the Cloud Services dashboard. To open the Cloud Services, click on the Form component to open the Properties Inspector, then click on the diagonal right facing arrow beside the Form ID field. This will open the dashboard in your web browser.
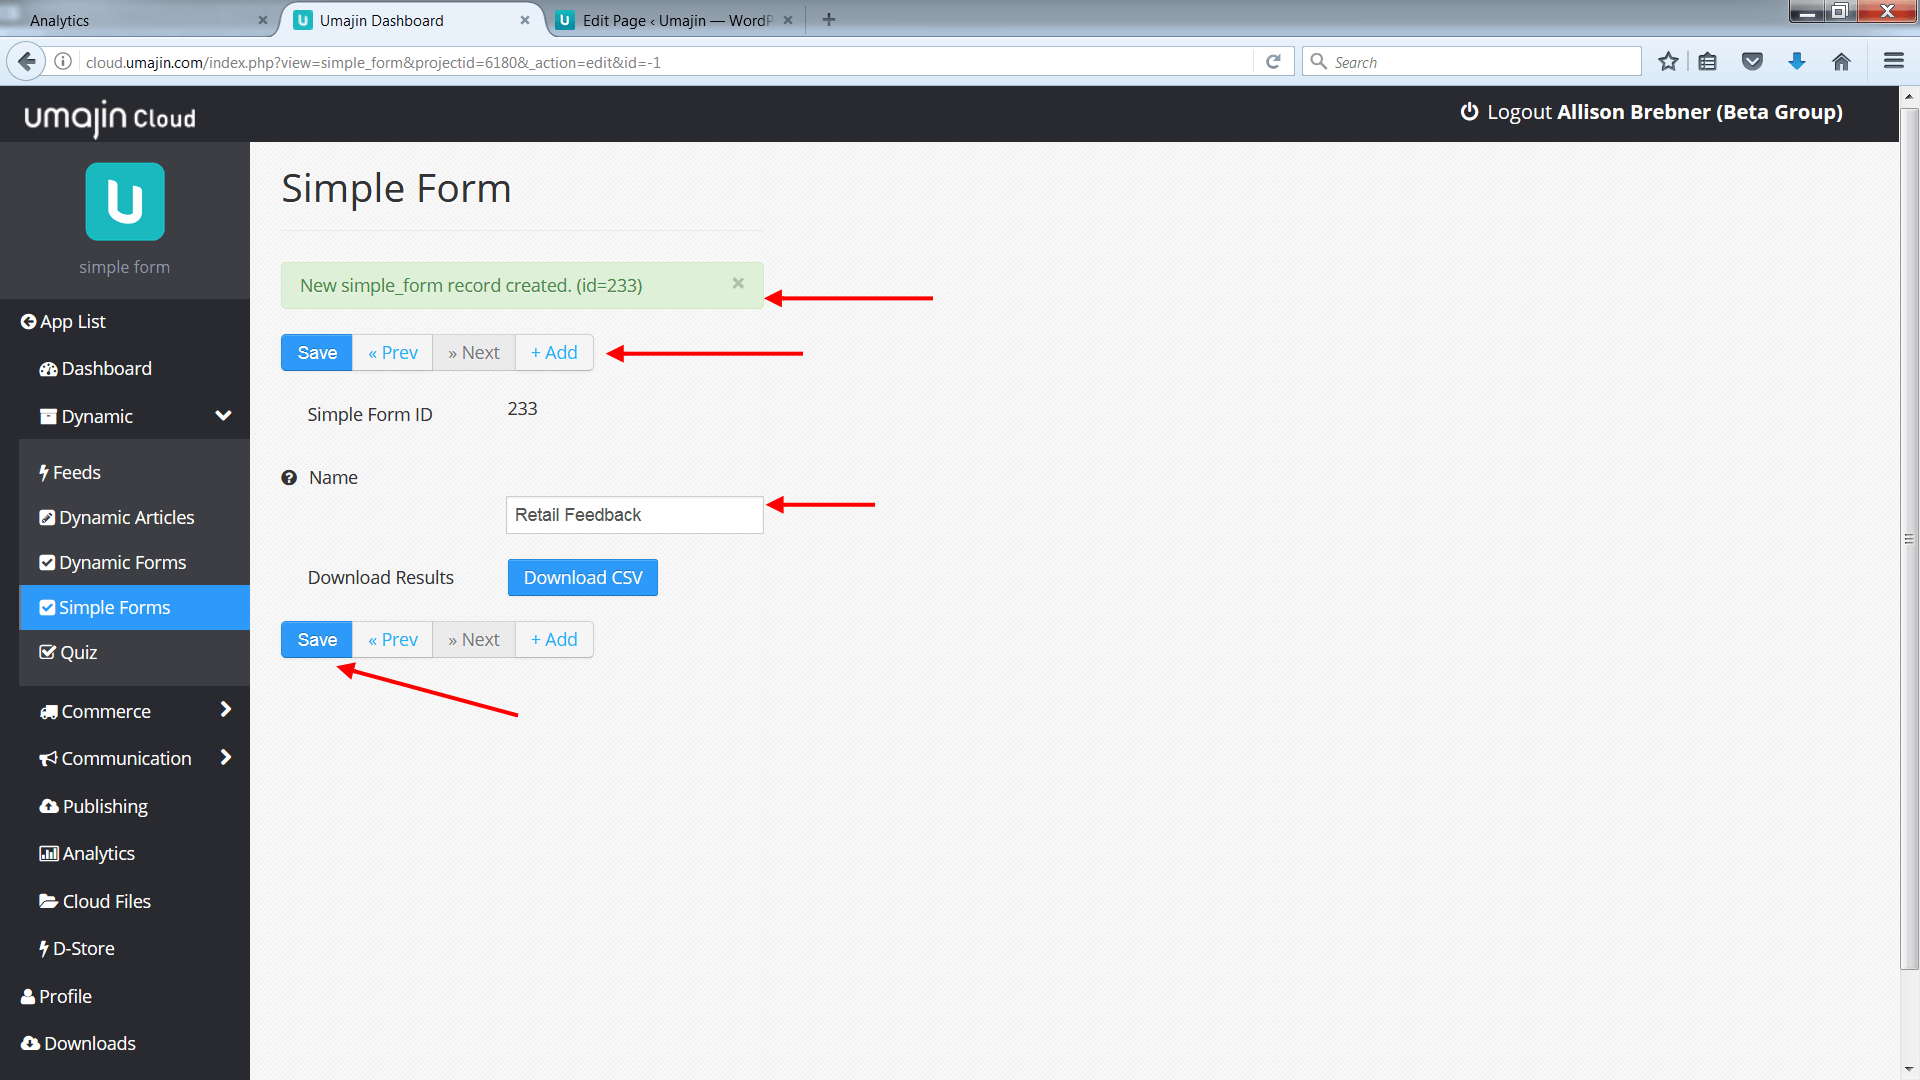
Step 3) In your browser, add a Simple Form feed by pressing the + button.
Step 4) Type in a form name (we’re using Retail Feedback), and press the save button. You should notice a new simple Form ID is created, which confirms our feed was created.
Step 5) We now need to bind the feed we just made with the Simple Form component. Go back to the Umajin Editor, and open the properties inspector for our Simple Form component. Click on the field (or folder icon) beneath the Form ID property to open the feed picker.
Step 6) Select the name of the feed you created in the Cloud Services earlier. In the example, we called our feed ‘Retail Feedback’.
The Simple Form and the ‘Retail Feedback’ feed are now attached together. Now when the user enters in valid data into the form, it will submit to our feed in the Cloud Services!
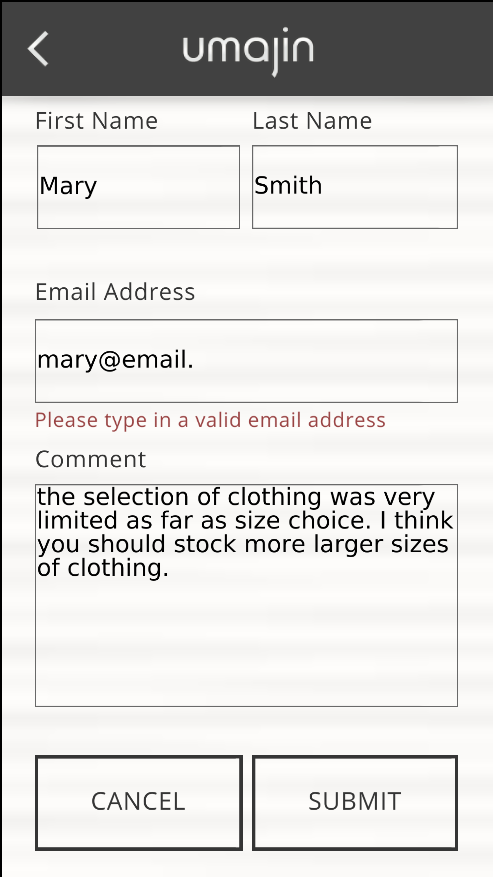
Step 7) Time to save some data. Enter play mode, populate the form data fields, and press the submit button.
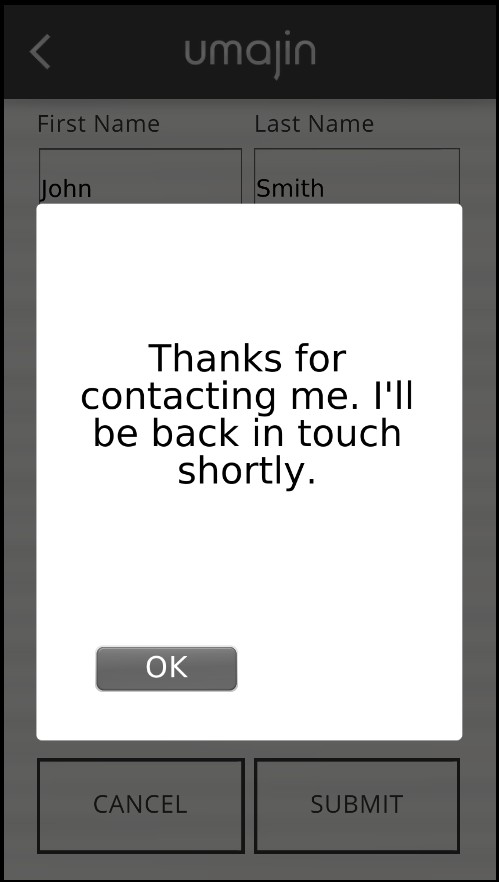
When the submit button is hit, the app will first check if all the information is valid and all required fields are filled in. If any field is invalid, the user is notified with a popup and the red error text appears beside invalid fields. If all the fields are valid, it will send the data to our feed ‘Retail Feedback’ in the Cloud Services and show a success popup.
Step 8) Retrieve the data. Go back to your web browser with the Cloud Services dashboard. If you closed the page, you can quickly reopen it by clicking on the arrow under Form ID in the Simple Form’s property inspector.
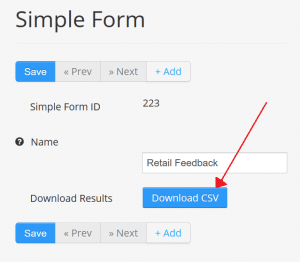
Step 9) Finally, click the ‘Download CSV’ button.
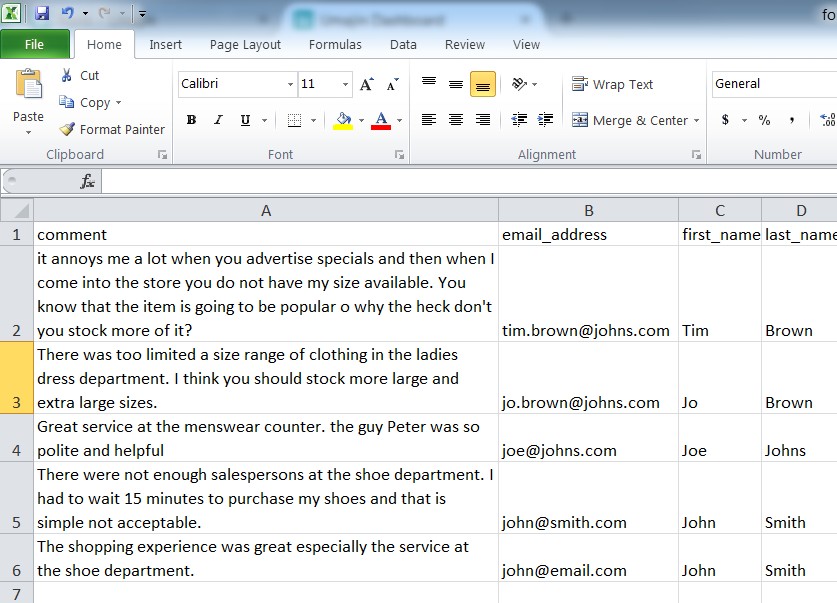
The data is downloaded as CSV file, which is commonly used in spreadsheet programs like Microsoft Excel and Google Spreadsheets. If you want to quickly view the data, open it with a simple text editor like notepad.
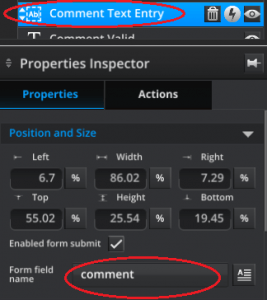
The column headers are created from the Form field name property for each component within the form. The data is grouped under those column headers.
Further tutorials:
Form Basics – Validation – Add a contact number input and validate it before submission.
