Asset Management
Working with Digital Assets
Umajin is designed for teams to create stunning applications without having to write code. It enables any team members and of course, designers, to create and use their own digital assets. Umajin is cleverly structured so that it works well with a designer’s existing software workflows. After creating the graphical elements and planning the images (.png,.jpg,.tga) and fonts to be used, they can be saved to folders within the Umajin Project’s ‘Resources Folder’ on the hard drive of their computer. Each project has a separate ‘Resources Folder’.
Here is a quick overview of the process:
- Add, change and save images and fonts on the hard drive of your computer for use in the Umajin Editor. Create graphics in your favorite software, save them into your Project’s ‘Resources Folder’ and then use them in your Project. Image files need to be .png, .jpg or .tga. Please note that images larger than 2048 x 2048 may not render.
- All assets for an app project are stored in its own project’s ‘Resources Folder’. Each Project has its own numerical ID. This is its unique identifier.
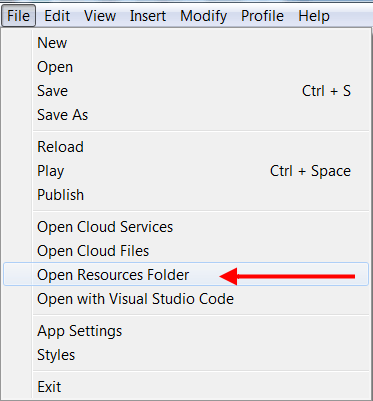
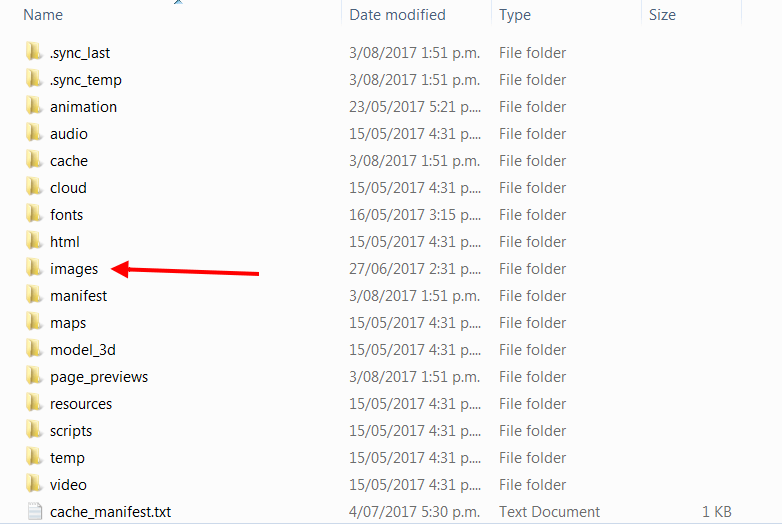
- When you select ‘Open Resources Folder’ from the top ‘File’ Menu you can see all the folders and files on the computer for the Project you have open.
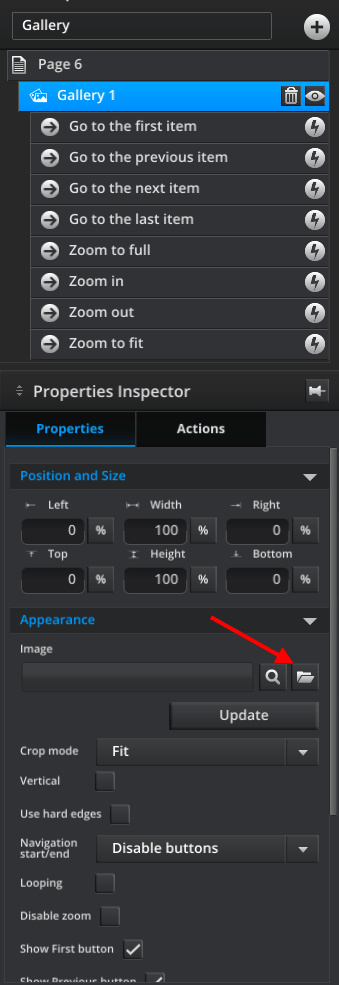
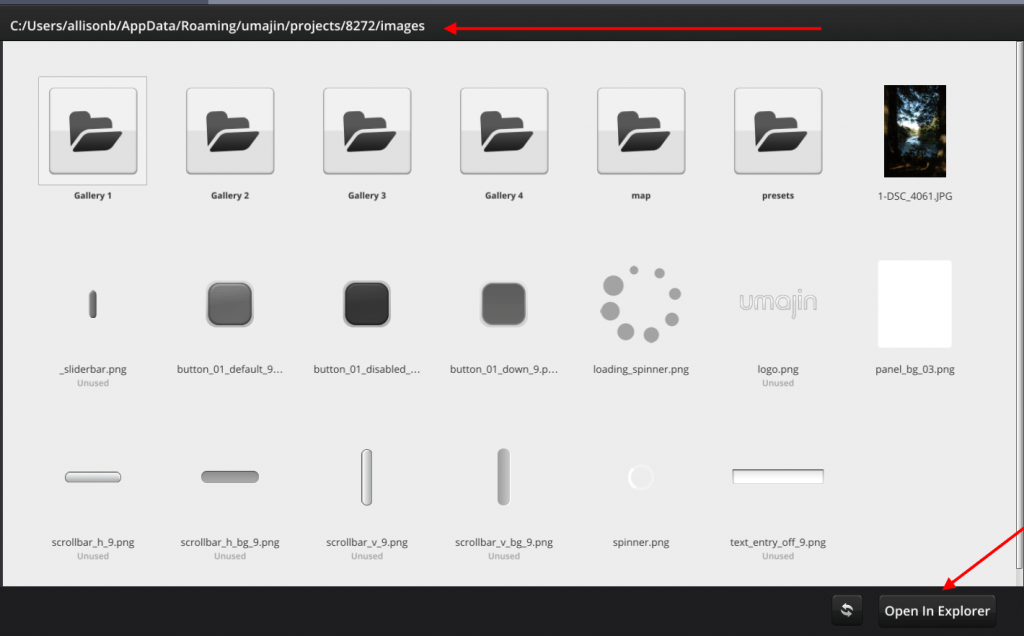
- To change a current graphic in your Project, select the image you want to change on a page and in the ‘Properties’ panel click the folder icon beside ‘Image’ and we are taken to browse the Image Selector. At the same time you can access the ‘images’ folder on our hard drive by clicking the ‘Open in Explorer’ button at the bottom of the screen. Now you are taken directly to the ‘images’ folder.
- In the ‘images’ folder, you select the graphic you want to change.
- You can use any tools you want to edit the image or create new graphics e.g.Adobe Photoshop, Adobe Illustrator, Adobe Experience Design, Sketch, Gimp, CorelDRAW.
- Change the image as you wish.
- Save the new image on top of the existing file in the ‘Resources Folder’/’images’. If you had created a new graphic you would save it directly into this folder with an appropriate name.
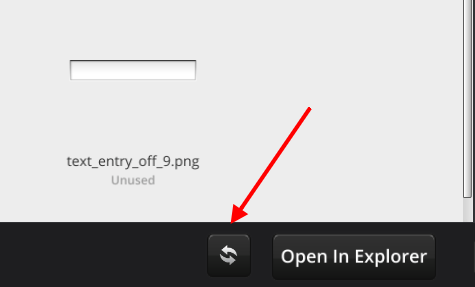
- Return to Umajin Editor/ browse the ‘image’ folder again and click the ‘Refresh’ arrows at the bottom of the screen. It will refresh the list of files in the ‘images’ folder.
- Cancel and return to the main editing interface. Click the ‘File’ menu and select ‘Reload’. This will reload the whole image cache with any new images included. Say yes to saving changes. Now you can see the new image.

- This same process can be used for adding images, graphics, icons and logos. You can create separate sub-folders to organize content within the ‘images’ folder.
- Opening the ‘Open Resources Folder’ link in the File’ menu we can also open the ‘fonts’ folder and copy and paste in a pre-prepared font. This is then automatically available back in the Umajin editor.
-
- Copy any OTF (Open Type Fonts) or TTF (True Type Fonts) font files into the ‘fonts’ folder
- Make sure you have the rights to embed the fonts.
-