Overview
A Form Component provides a simple contact form that will collect customer contact details and comments. The data is fed back into a Simple Form you create in the Cloud Services/Dashboard. In this tutorial, we will go through the process of adding a field to this Simple Form to get additional information from your user.
Prerequisites
- Umajin Editor downloaded and installed
- Optional but helpful: created a Custom Component like the one we will be using from the getData/setData tutorial.
Instructions
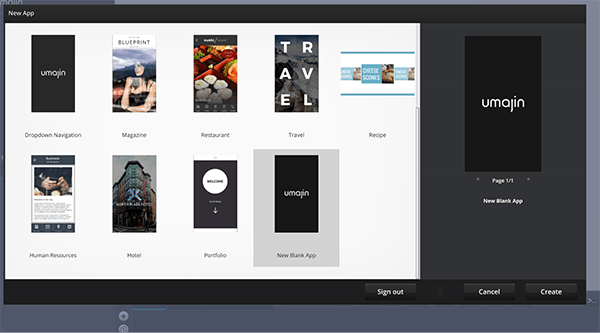
Step 1) Create a new blank app in the Umajin Editor to use as a testing platform for our Simple Form Component.
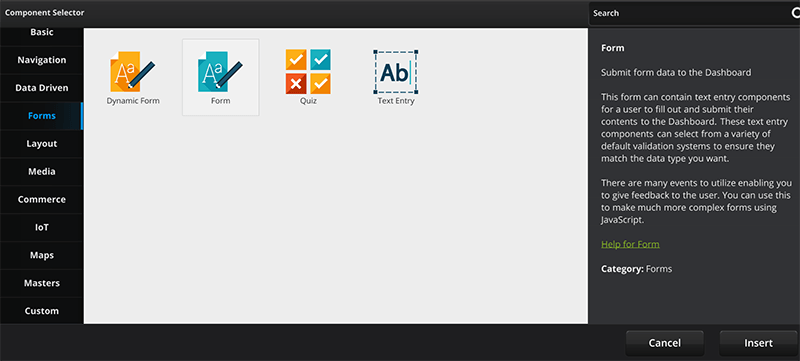
Step 2) On the desired page, insert a Form. To do this, click the big plus (+) button next to your application name. Open the Forms tab and insert a Form.(This is the Simple Form)
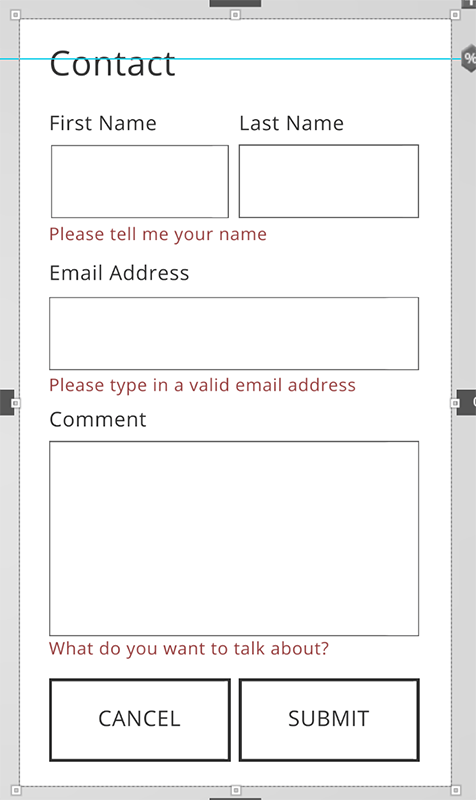
You will notice that this Form already has Text Entry Fields, Labels, Pop ups, and Actions selected for you. The red text is set to only appear when a required field is not completed upon form submission. All of these pre-established properties can be altered in the Properties menu after selecting the specific component you desire to change.
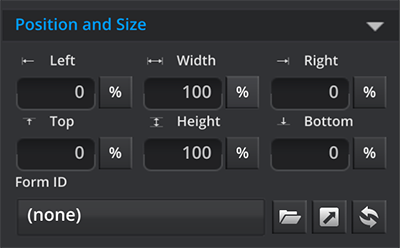
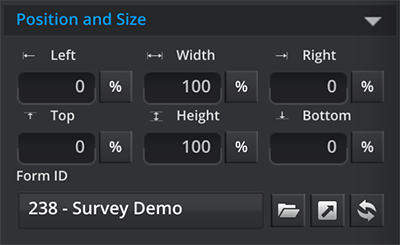
Step 3) Begin Form customization. If you would like to alter the already existing Components, click on the Properties tab and scroll until you find the heading “Form ID”. You will need to go to Umajin Cloud Services/Dashboard by clicking the button with the arrow pointing to the upper right hand corner of the white box under the Form ID category.
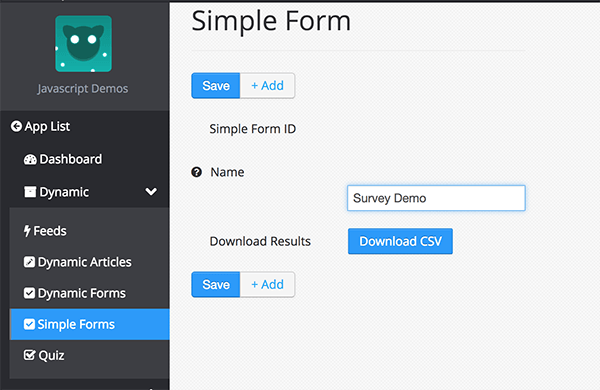
Step 4) Once in Cloud Services/Dashboard, you will want to name your Form for future use, and to send the information gathered from the Form to the Cloud upon submission. Note that there is also a Download Button allowing you to download submission results once your Form goes live. We will use that later as a testing mechanism.
Now head back to the Umajin Platform.
Step 5) Go back to the Form ID Property and select your Form name from the folder.
If what appears is exactly the Form you are looking to create, you can stop the tutorial here and use it. If it is not, however, we are about to show you how to customize this Form.
Step 6) Add a Custom Component. For our example, we will be adding the CheckBox Custom Component that was constructed in the getData/setData tutorial. To add the Component to our Form, we will select the big plus button next to our Form name. Find the Component you want to add, and add it to your Form.

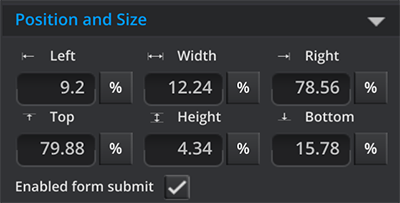
Step 7) To sync the value of this feature to be sent to the Cloud along with the other data from the Form, enable it by checking the “Enable Form Submit” check box.
Step 8) To test out your platform, hit the play button and fill out your Form. Submit it once completed, then head back to Umajin Cloud Services/Dashboard and download the CSV response. You will see the information submitted on your Form in the CSV file.
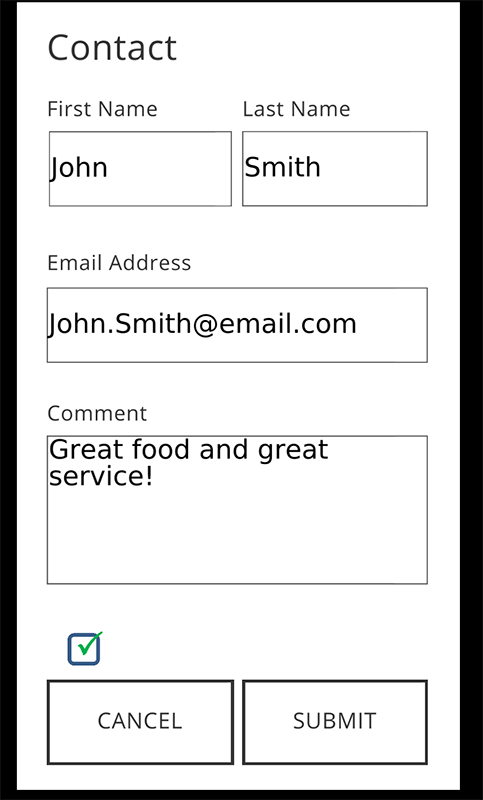
Note: in this example, you can see the inclusion of the CheckBox Custom Component in the Form. The information from this checkbox will be included in the CSV file as well.